
Pumpkin seeds! Pumpkin seeds! Pumpkin seeds!!
I have a love affair with pumpkin seeds! I waited as long as I could this year, but it was finally time to crack our pumpkin open and get scooping! Every year I make the same seeds. I always say I am going to try others, but I like what I like. And so this year it was another round of...
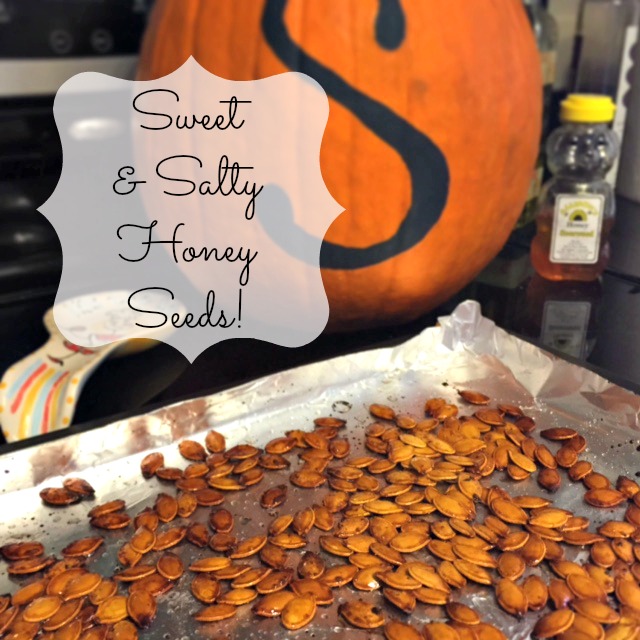

Sweet and Salty Honey Seeds!
As if I could have done anything else right?! As a lover of all things honey, these are the perfect seeds for my soul! And they are super easy too! Just three ingredients and a little over 30 minutes between prep and bake and you have yourself a tasty snack!
Ingredients
Olive oil
Honey
Garlic Salt
I am not a measurer of things, so if you need precise, then I'm really sorry. I kind of just throw in a little of this and a lot of that depending on my feelings in any particular moment. So this time the step by step looked a little like this...
Step 1) Start by preheating the oven to 350 degrees.
Step 2) Open and scoop out the pumpkin. I cut the top so that I take a large chunk out of the back. It leaves more room for me to scoop without getting overly yucky while still leaving the front nice and pretty so that I can put the lid back on and pumpkin back outside once finished. I then place all the seeds in a metal bowl of semi-warm water. I let the seeds soak for a minute or two and swoosh them around the get the stringy pulp separated. The pulp should settle to the bottom and then I fish the clean seeds out and place them on a paper towel.I like my seeds to be cleaned (no thick pulp), but not too clean (still a little orange film) because I think it add more of that pumpkin seed yumminess when finished.


Step 3) I pat the seeds dry with a paper towel. I will usually do this twice, transferring the seeds from the first paper towel to a second in between patting (that way the seeds aren't sitting on a wet paper towel). The new paper towel will help to soak up some of the extra moisture, but I don't ever wait for the seeds to dry. I know some people will tell you that's a thing (and that you must wait), but I am too impatient to have that be one of my things, so they are still moist when I stick them onto their baking sheet (this method hasn't failed me yet). I prep the baking sheet with aluminum foil and a sprinkle of olive oil (makes cleanup a cinch).


Step 4) Place the seeds in a plastic bag and pour in just a tad of olive oil, quiet a good squeeze of honey and about two shakes of garlic salt. I close the bag and get to shaking. I shake (and knead) until all the seeds are coated, check to make sure I feel they are evenly coated (if not, or I just feel in the mood for more, I will add a dash more salt and honey) and then spread them evenly onto a foil lined baking sheet. *Note: You could mix in a bowl, I just find the bag helps to spread the honey and salt evenly and makes cleanup a lot easier!


Step 5) After making sure they are evenly spread (not a lot of seeds overlapping) I will sprinkle more garlic salt on top so that the seeds have an even coating of salt. Then for good measure, I squeeze just a bit more honey to give it a good pop and then place the pan in the oven.
Step 6) Bake for 12 minutes and then take the pan out and flip the seeds. Pop back in oven for another 12-15 minutes or until golden brown (or crisped to your preference). Babe prefers his seeds a little more crispy so sometimes I will leave them in a little longer for him. Just watch carefully, they can go from brown to burnt real quick!
Step 7) Voila! Just let cool and enjoy!!
|
|


Pumpkin seeds are one of my favorite fall snacks!
How do you prepare yours? Any other sweet and salty recipes I should try?
Hi Melanie! I'm popping over from The Alder Collective.. :) You know... I swore off making pumpkin seeds the other day and threw a bunch away just yesterday! Haha I got all excited a few weeks back when I saw a recipe on Pinterest..they were promised to be the BEST pumpkin seeds ever! Well... not so much. A lot of work and the juice wasn't worth the squeeze, if you know what I mean. ; ) Buuuuut, I am now gonna have to try your recipe!! You had me at "Honey Roasted"... ; )
ReplyDeleteHaha! I can totally understand that, there was one recipe I helped a friend try out and it was just too much work for me! I hope you get a chance to try these, they really are super easy and -in my opinion- super tasty! Thanks for stopping by! Hope your weekend was beautiful!
DeleteThese look great! I'm not usually one for pumpkin seeds, but your recipe definitely sparked my curiosity! I might have to try this! Thanks so much for linking up with The Alder Collective! Hope you'll join us again this week!
ReplyDeleteI have never roasted pumpkin seeds but I am intrigued. I think I need to give that a try. They are still in the shells, right? I only know green store bought ones.
ReplyDelete